This tutorial will show you how to install VMware Workstation Pro 14 on RHEL/CentOS 7, Fedora 22-27, Debian 7-9, Ubuntu 18.04-14.14 and Linux Mint 17-18.
VMware Workstation Pro 14 is a popular software which allows you to run multiple different virtual machines on physical hosts using the concept of Type II of hypervisors (Hosted Hypervisors). This tutorial also discuss some common issues during the installation process.
What is new in VMware Workstation Pro 14
- Support for Windows 10 Creators Update as a virtual machine and host operating system with auto detect and easy install.
- New Guest operating system support for Ubuntu 17.04, Fedora 26, CentOS 7.4, RHEL 7.4, Debian 9.1, Oracle Linux 7.4, SLE 12 SP3 and OpenSUSE 42.3.
- Support for enabling VBS (Virtualization Based Security) within Windows 10 and Windows Server 2016 running as guest operating.
- Support for renaming virtual network in the Virtual Network Editor for better organization.
- Support for ESXi Host Power Operations such as Shutdown, Restart and Enter/Exit Maintenance Mode.
- With improved OVF/OVA support for testing and experimentation within Workstation.
- Scan for Virtual Machines in local folders as well as on network shared storage and USB drives.
- Automatically Suspend Shared Virtual Machines Upon Host Shutdown.
- New GTK+ 3 based UI for Linux.
- There is also some another few features which you will discover by practice and make hands on labs.
Prerequisites
- Make sure that your system is 64-bit “VMware Doesn’t provide 32-bit edition” and its virtualization feature is enabled.
- Unfortunately, the 14th edition doesn’t support 32-bit processors may be due to the features improvements which need the higher level of processor BUT VMware didn’t talk about specific reasons.
- Make sure you have a license key to active the product OR you will work in the evaluation mode “the same features but with ONLY 30 day period” after evaluation mode period ends YOU MUST enter a license key to active the product.
- Before you begin this guide, you will need the root account OR non-root user with sudo privileges configured on your system (Physical host).
- Make sure your system and its kernel is up to date.
Step 1: Downloading VMware Workstation 14 Pro
1. First login into your server as root or non-root user with sudo permissions and run the following command to keep your system up-to-date.
# yum update				        [On RedHat Systems]
# apt-get update && apt-get upgrade	[On Debian Systems]
2. Next, download the software from VMware official site. You will download script file like “VMware-Workstation-Full-14.1.1-7528167.x86_64.bundle”, by default this script file downloaded without execute permission, so you will need to set execute permission on it.
3. After downloading script file, go to the directory which contains the script file and make sure that script file is exist and have default permissions.
# ls -l
-rw-r--r-- 1 tecmint tecmint  460769685 Apr 10 16:01 VMware-Workstation-Full-14.1.1-7528167.x86_64.bundle
4. Give permission execute for all “for security reasons you may need to give the permission for the owner user only NOT for all”.
# chmod a+x VMware-Workstation-Full-14.1.1-7528167.x86_64.bundle
5. After setting permission, make sure to check the permissions again.
# ls -l
-rwxr-xr-x 1 tecmint tecmint  460769685 Apr 10 16:01 VMware-Workstation-Full-14.1.1-7528167.x86_64.bundle
Step 2: Installing VMWare Workstation 14 Pro in Linux
6. The installation process follows a straight-forward steps, just issue following command to run the script file.
[root@tecmint Downloads]# ./VMware-Workstation-Full-14.1.1-7528167.x86_64.bundle
7. Once the script is running, you see the following window the screen.
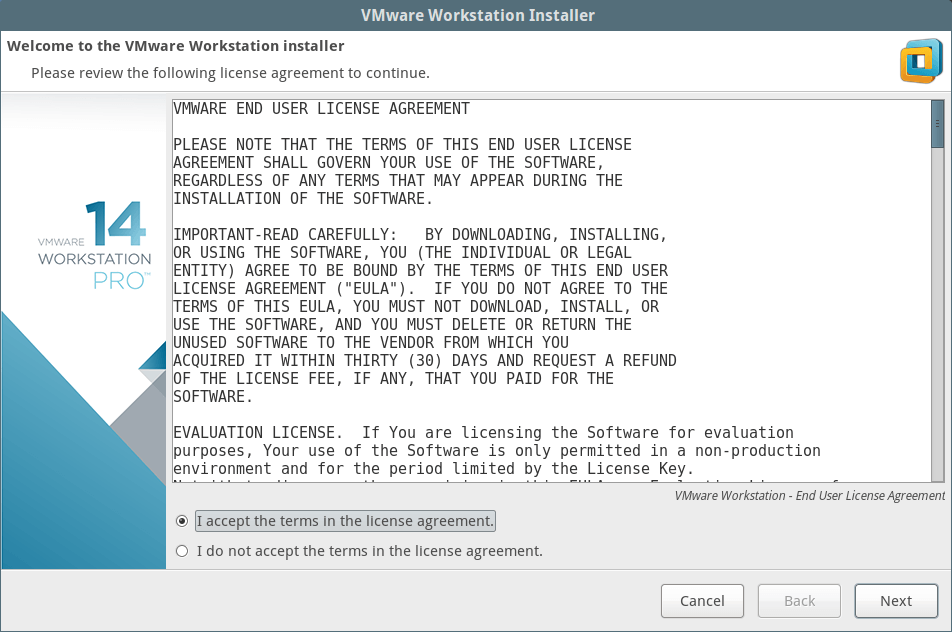
VMWare Workstation Installer
Just follow the one screen instructions until “Installation was successful” message appears.
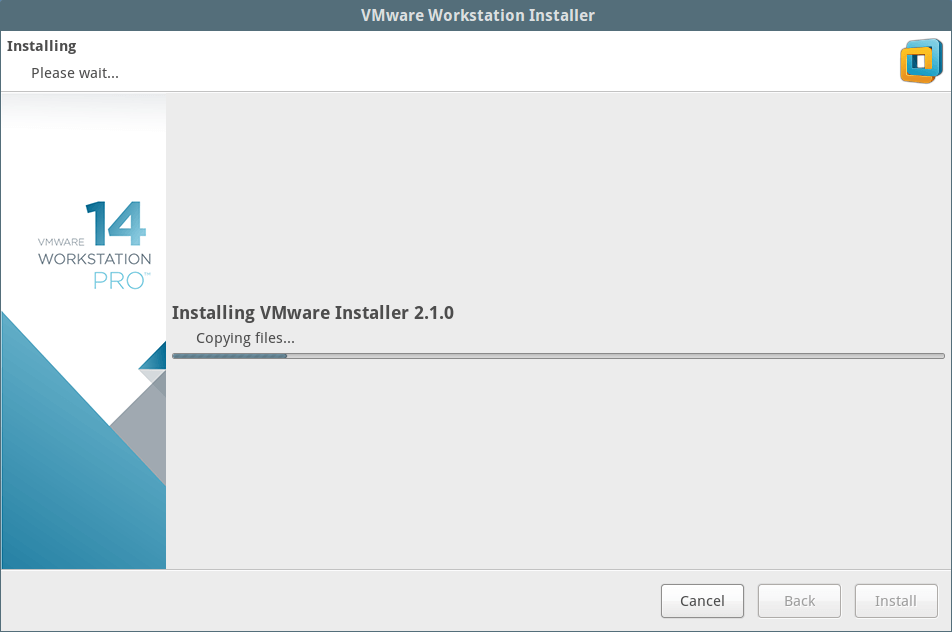
VMWare Workstation 14 Pro Installation in Linux
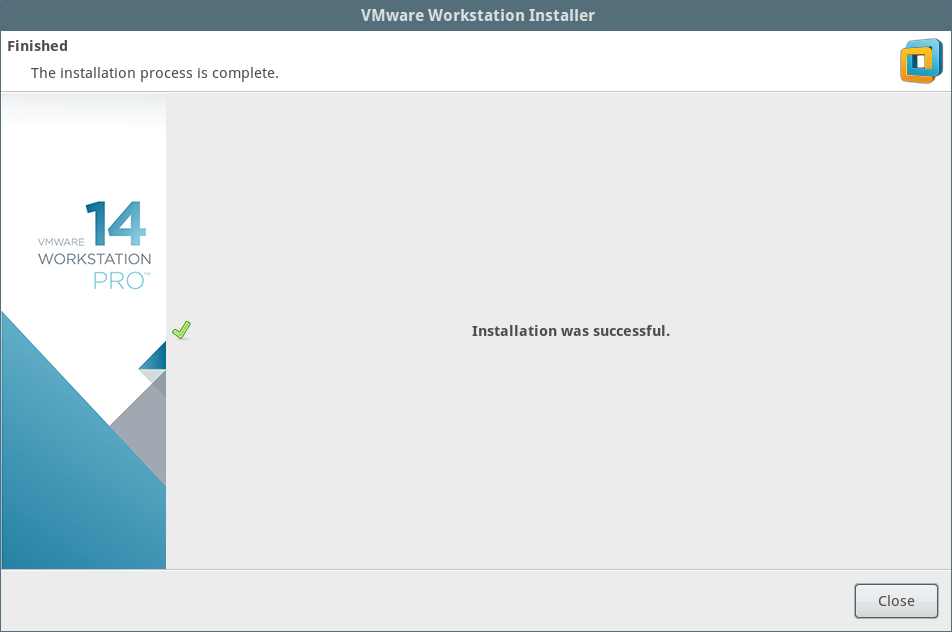
VMWare Workstation Installation Complete
Step 3: Running VMWare Workstation 14 Pro
8. To start the software for fist time you will find some issues as discussed below with fixes. To start the software type vmware in the terminal.
[root@tecmint Downloads]# vmware
After running above command, if you don’t have GCC GNU C Compiler, you will see the message which notify you to install gcc compiler and some components. Just press ‘Cancel‘ to continue.
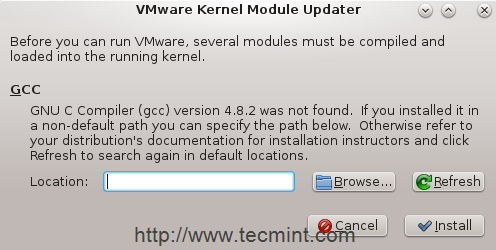
VMWare Kernel Module Updater
9. Return to the terminal, then lets install “Development tools”.
[root@tecmint Downloads]# yum groupinstall "Development tools"	[On RedHat Systems]
root@tecmint:~# apt-get install build-essential			[On Debian Systems]
10. When it finished, lets try to start the software again.
[root@tecmint Downloads]# vmware
This time another issue will be appear, its talk about kernel-headers, select “cancel” and lets check if it installed or not.
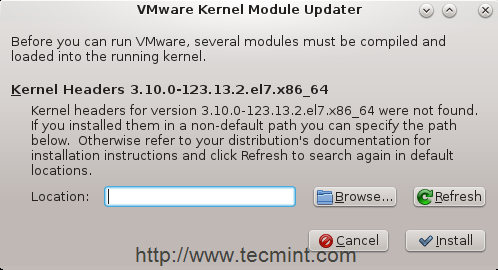
VMWare Kernel Headers Missing
[root@tecmint Downloads]# rpm -qa | grep kernel-headers         [On RedHat systems]
root@tecmint:~# dpkg -l | grep linux-headers    		[On Debian systems]
If nothing appears install it using.
[root@tecmint]# yum install kernel-headers		[On RedHat Systems]
root@tecmint:~# apt-get install linux-headers-`uname -r`	[On Debian Systems]
11. For further reasons which out of this tutorial scope, we will need to install another package “Kernel-devel”.
[root@tecmint Downloads]# yum install kernel-devel [On RedHat Systems]
12. When it finished, lets try to start the software again “be patient, trust me ..it will be the last one ;)”.
[root@tecmint Downloads]# vmware
Congratulations! we have solved all issues, you will see this window.
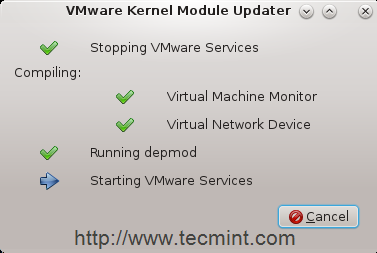
VMWare WorkStation Starting
It makes some modification in kernel modules and compiling some new tools just fewer minutes, the application start and home window appears and waits from you to kick start it and make your virtual machines.
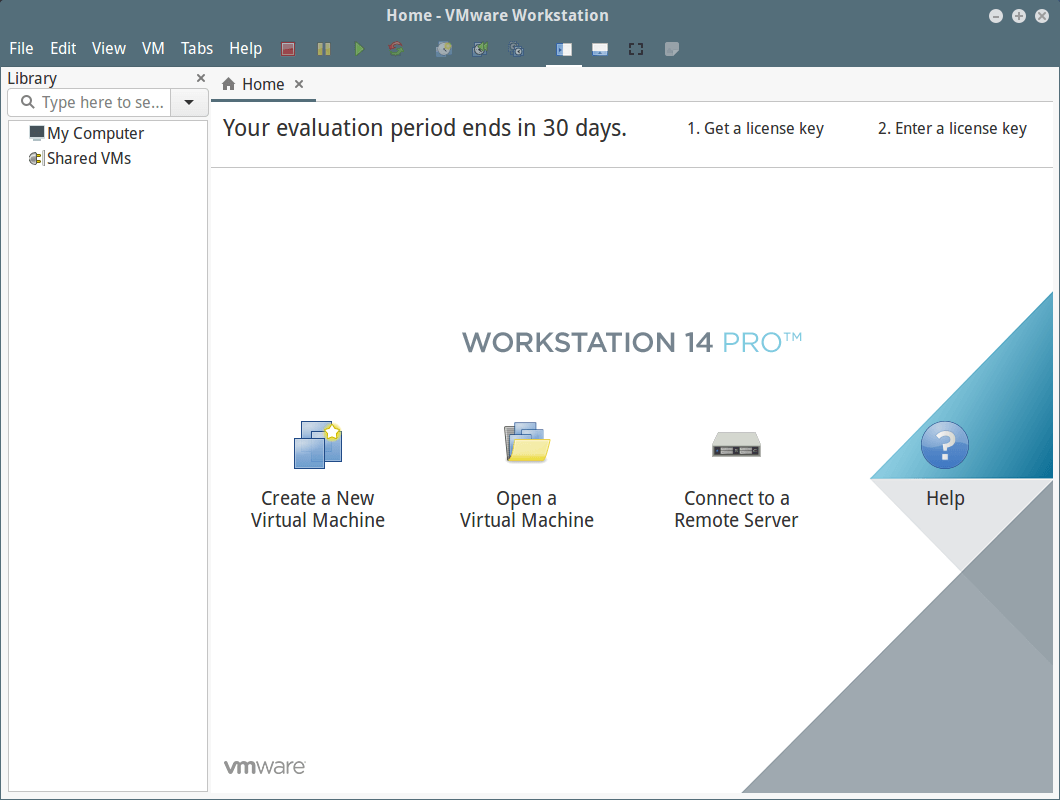
VMWare Workstation Pro
Conclusion
Congratulations everything has done successfully, you should use in-deep the new features of the NEW edition of VMware Workstation 14 Pro, Do your labs and across Virtualization Ocean, GOod LuCk..


